How to Make Foam Armor: A Professional Guide to Fabrication
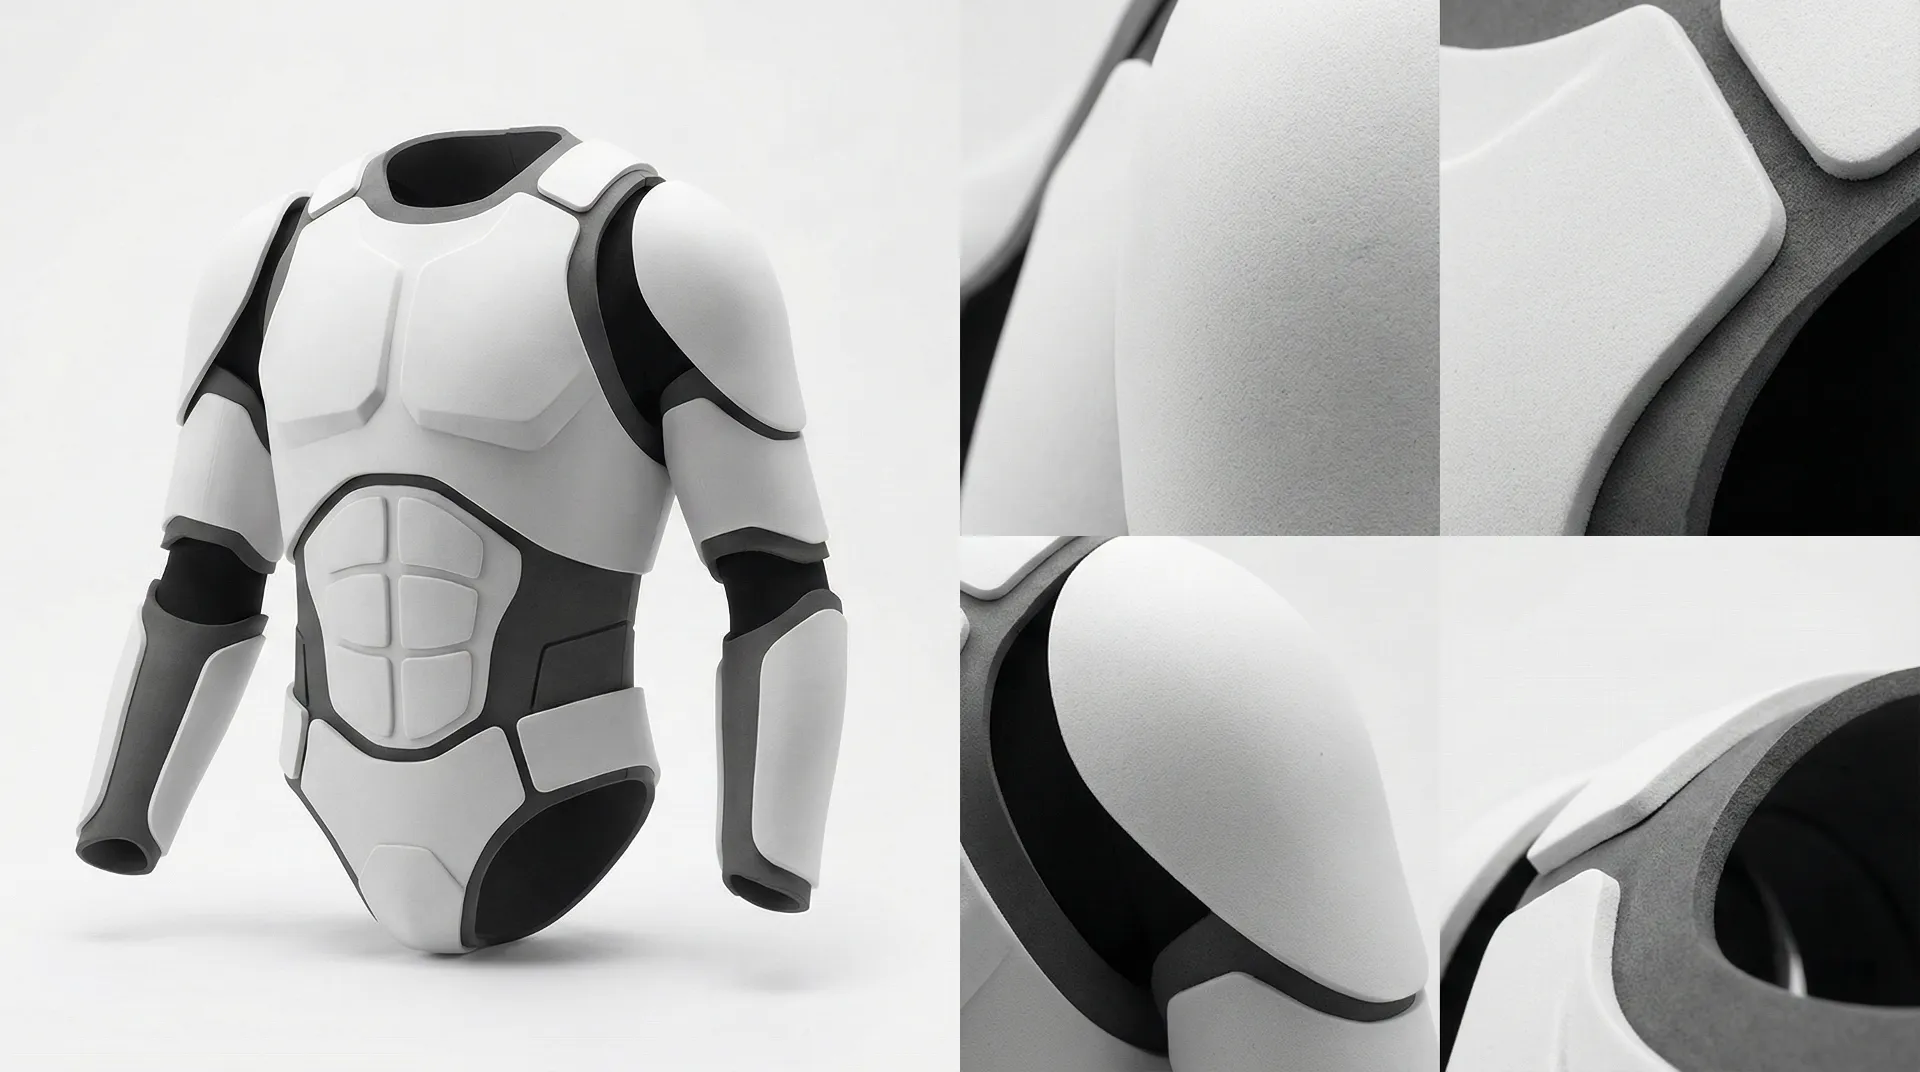
Creating movie-quality armor is a blend of artistry and material science. The secret held by professional prop makers isn’t just skill—it’s the choice of material. High-density EVAフォーム has revolutionized the industry, offering a lightweight, durable, and highly moldable alternative to heavy plastics or metals. At Damao Tech, we specialize in engineering the precision-grade foam required to bring these complex designs to life.
Phase 1: Selecting Your Foundation
Before you cut your first piece, you must choose the right density. Professional-grade armor requires a material that holds its shape under stress but remains flexible enough for movement. We recommend using high-density EVA Foam from Damao Tech (typically 80kg/m³ to 120kg/m³) for structural pieces like chest plates and greaves.
Essential Tools
- Sharp Utility Knife / Retractable Blades
- Heat Gun (for shaping)
- Contact Cement (the gold standard for adhesive)
- Metal Ruler & Silver Marker
Advanced Finishing
- Rotary Tool (Dremel) for beveling
- Wood Burning Tool for battle damage
- Sanding Sponges (various grits)
- Kwik Seal for gap filling
Step-by-Step Armor Fabrication
Patterning & Template
Create a 2D pattern of your design using the “Duct Tape Method” on your body or by using digital software. Transfer these patterns onto your EVAフォーム sheets, ensuring you mark your registration lines for perfect alignment.
Precision Cutting
Always keep your blade vertical. Use long, continuous strokes to avoid jagged edges. Damao Tech’s consistent cell structure ensures that your cuts remain clean and don’t tear, even on intricate curves.
Heat Shaping
Apply heat evenly until the foam becomes slightly floppy. Shape it over your knee or a form. Once the foam cools, its “memory” will hold the curve permanently—a key feature of our premium formulations.
Assembly & Detailing
Apply contact cement to both edges, wait for it to become tacky, and press firmly. Use a rotary tool to sand seams flush and add battle scars or mechanical details for realism.
Phase 3: Priming and Painting
なぜ、表面が切られると水が通らないか? EVAフォーム is porous, it must be sealed before painting. Use a flexible primer like Plastidip or a specialized foam sealer. Damao Tech’s closed-cell foam technology provides a smoother surface finish, requiring fewer coats of primer compared to low-grade craft foams, saving you time and material costs.
Decision Guide: Why Damao Tech EVA Foam?
Not all foam is created equal. Low-density foam from craft stores often “bottoms out” or loses detail when heated. Our professional-grade sheets offer:
- Superior Heat Memory
- High Tear Resistance
- Smooth Surface Finish
- Non-Toxic & Eco-Friendly
常に質問されること
For main body pieces (chest, back), 6mm to 10mm is ideal. For detail layers and gauntlets, 2mm to 4mm works best. Damao Tech offers various thicknesses to suit every layer of your build.
While possible for small details, we highly recommend contact cement for structural seams. Hot glue can melt under high temperatures or pop off during movement, whereas contact cement creates a permanent chemical bond.
Sand the seam flush with a rotary tool, then apply a thin layer of flexible caulk or “Kwik Seal.” Once dry, sand lightly again before priming for a seamless “metal” look.
Yes. Our EVA foam is manufactured without toxic formamides, making it safe for cosplayers who wear their armor for extended periods at conventions.
Ready to Build Your Masterpiece?
Whether you are a professional studio or a first-time maker, Damao Tech provides the materials that turn imagination into reality. Our foam is trusted by creators worldwide for its consistency and performance.
Contact Us for Wholesale & Bulk Orders